ABOUT GREY COLORS
The property of value or tone is sometimes confused with the property of intensity. Value or tone has to do with how light or dark a color is.
While intensity has to do with how "pure" or grayish the color is. The property of intensity is very useful for giving hierarchy to a painting. Humans
don't see the way a camera "sees" because we are selective. Humans always give more importance to some things than others. The artist can guide the
observer's eye toward things with the most intense colors and away from grayish colors. Colors with low intensity also serve to rest the observer's
eye, because we know that when we include all the intense colors of the rainbow into a painting, the observer's eye will constantly jump from one side to the other
without being able to rest.
When combining colors of varying intensities in a painting, grayish colors also offer the painting a certain harmony.
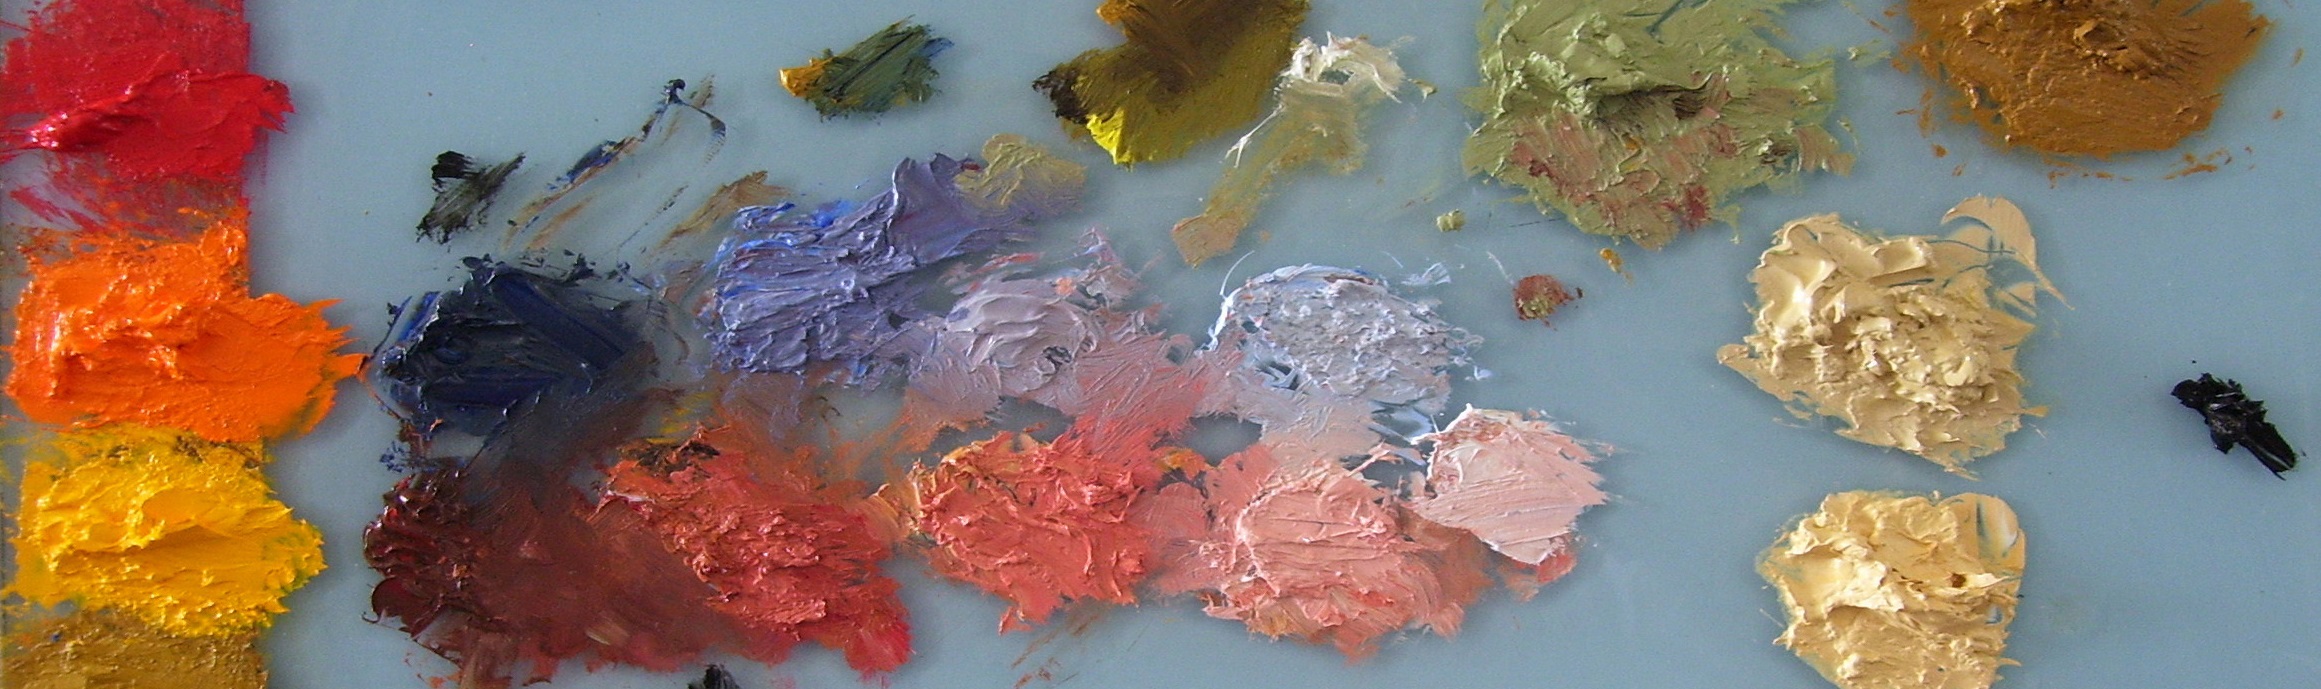
The key to understanding grays lies in mixing colors with opposite temperatures.
That is, complementary or near-complementary colors. In reality, when you do this, you are mixing the three primaries. For example,
if you mix blue with orange, the latter already contains the other two primaries, yellow and red. Depending on the amounts of each,
you can obtain a blue-gray, an orange-gray, or a neutral gray that will be more chromatic (more vibrant) than a gray mixed with black
and white. Grays always tend toward a color on the color wheel.
Even gray mixed with black and white, if you look closely, looks cool because it tends toward blue. The color industry gives
names to these gray or earth colors, which can be confusing. But you'll learn much more if you mix these earth colors yourself. For
example, the color "brown" is actually a reddish brown, so it's a warm color. To get it on your palette, mix red with its complementary
color (green) and decide how much the red should dominate to get the "brown."
FREE Video Part One: FUNDAMENTALS OF OIL PAINTING
FREE Video Part Two: FUNDAMENTALS OF OIL PAINTING
FREE Video Part Three: FUNDAMENTALS OF OIL PAINTING